

About the rice…….
One of the biggest surprises upon arriving in Australia was the difference in how people prepare rice. Many Australians boil rice—and this was quite a culture shock for me, as that’s not how we prepare rice in Japan.
Though just as there are various types of rice cultivated across different countries and regions, there are many ways of preparing rice, each tailored to the local cuisine.
Since relocating to Australia, my pantry has been stocked with Japanese koshihikari, jasmine rice, basmati, and brown rice. Each requires a different preparation method—and offers distinct flavours!
Japanese rice is characterized by its sticky, glossy, fluffy texture, and a subtle sweetness.
Japan boasts numerous premium rice brands offering a range of delicious options. You’ll often find a variety of imported high-quality rice available at Japanese grocery stores, albeit at premium prices. If you’re curious, I highly recommend giving them a try.
In this post, I want to share a simple and delightful way to cook Japanese rice.
There are some excellent rice cookers available nowadays, but I’ll be demonstrating how to cook rice in a pot.
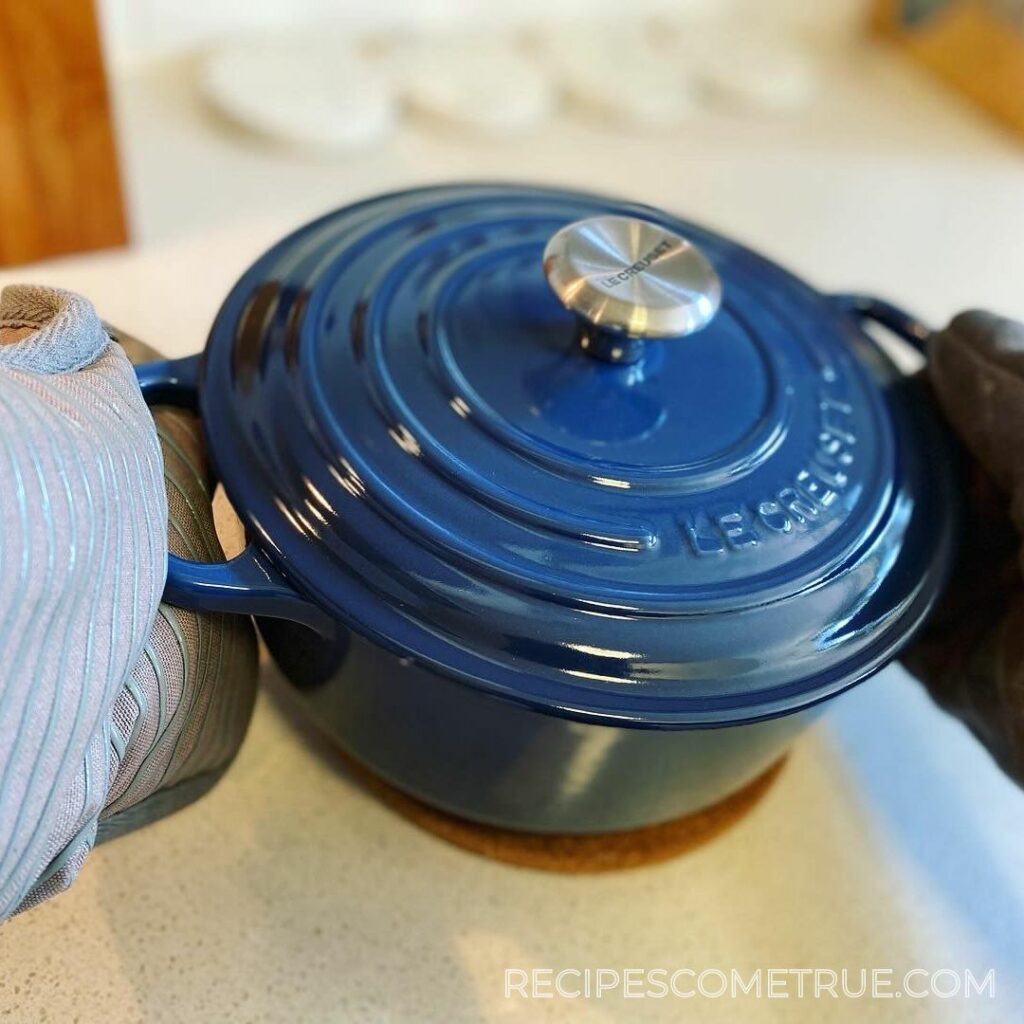
Personally, I don’t own a rice cooker. Instead, I cook rice using my Le Creuset pot. If you happen to have a Le Creuset or a similar kind of enamelled pot at home, I encourage you to give it a go. Alternatively, a regular pot works just as well.
Did you make this recipe?
Please let me know how it turned out for you! Leave a comment below and tag @recipescometrue on Instagram and hashtag it #recipescometrue.
An Easy Way to Perfectly Cook Japanese-style Rice
Ingredients
- 2 cups Japanese rice
- 2 cups water
Instructions
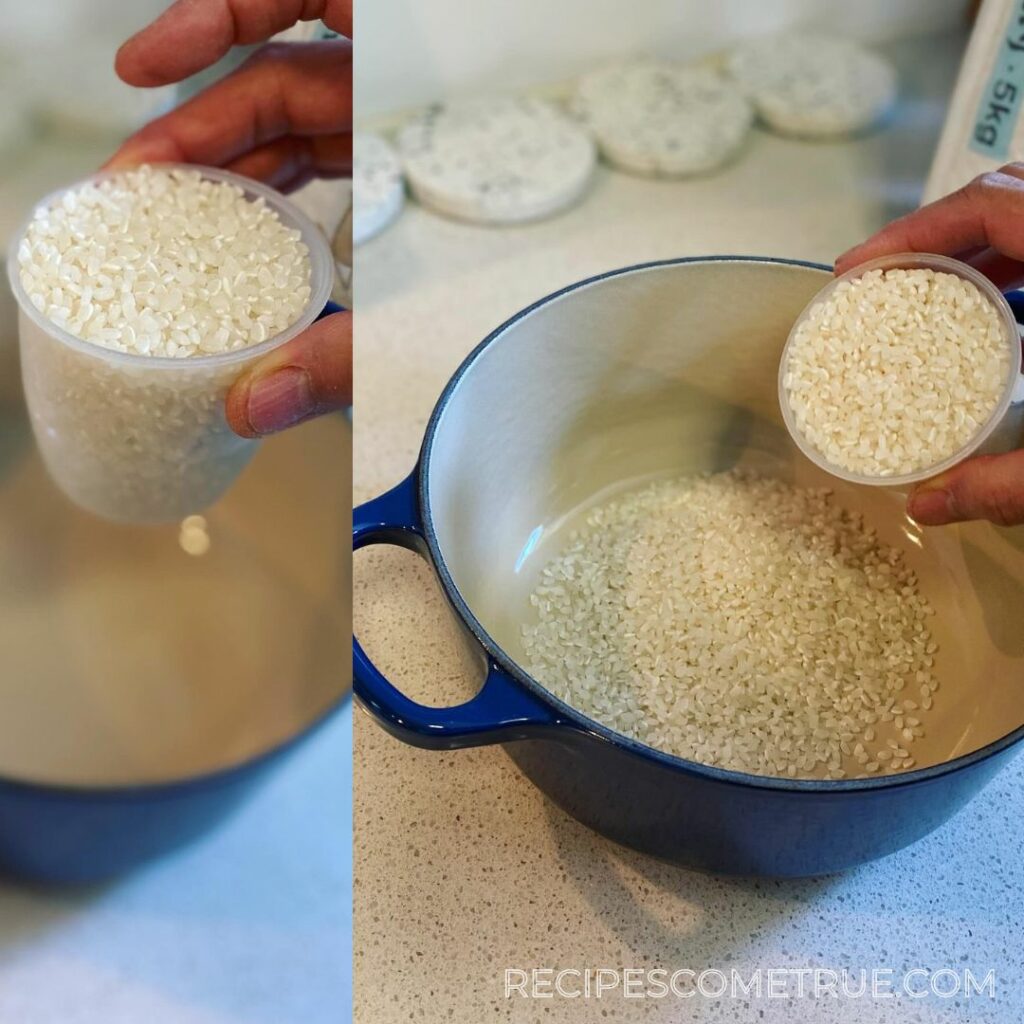
- Measure out the rice using a measuring cup and add it to your pot. Tip: Here I use a 180 ml cup (known as an ichi-go cup for Japanese rice), which is the standard measuring cup for rice in Japan. If you don’t have a 180 ml measuring cup, you can use a cup with a water volume of around 200 ml, making it easier to measure the water.

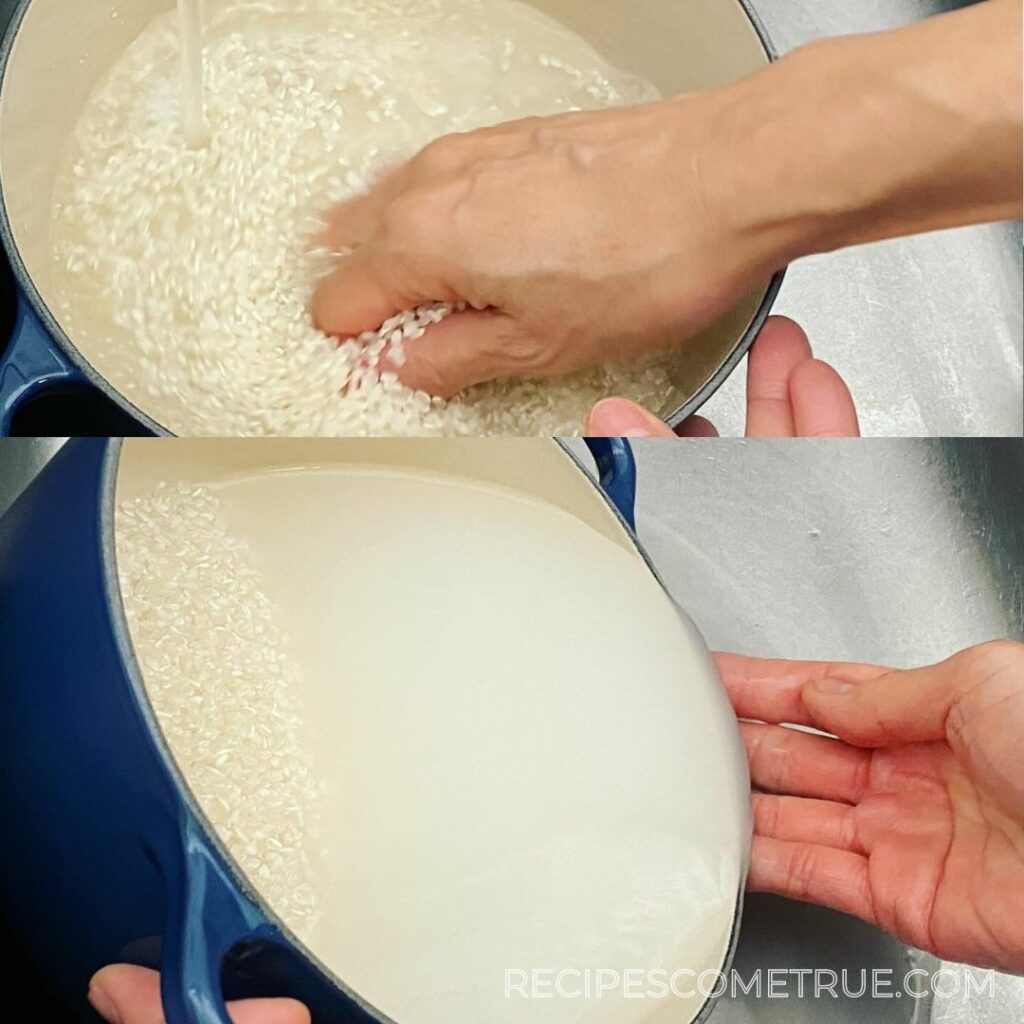
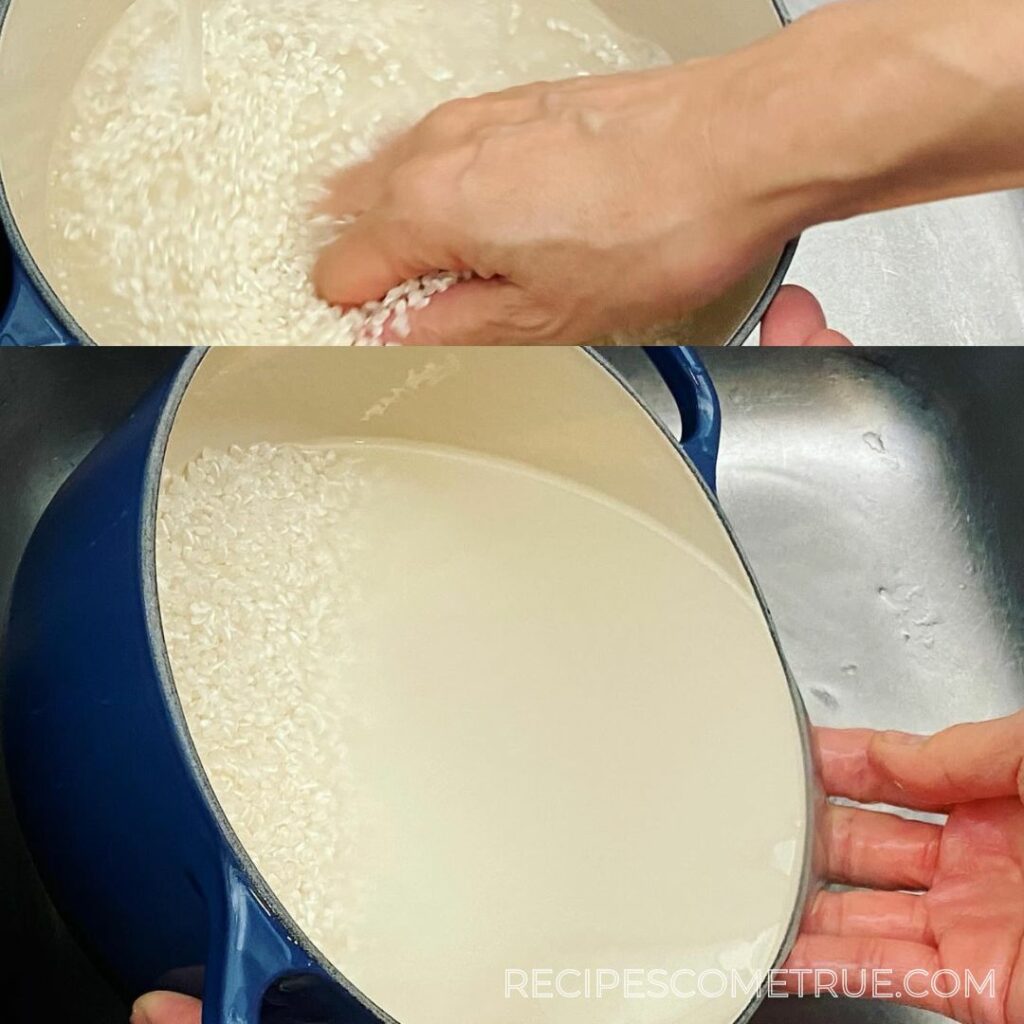
- Wash the rice thoroughly by filling your pot with water and stirring lightly a couple of times with your hand, before discarding the water while being careful not to lose the rice.Tip: you might want to hold your hand underneath to prevent or catch any stray grains from slipping into the drain.
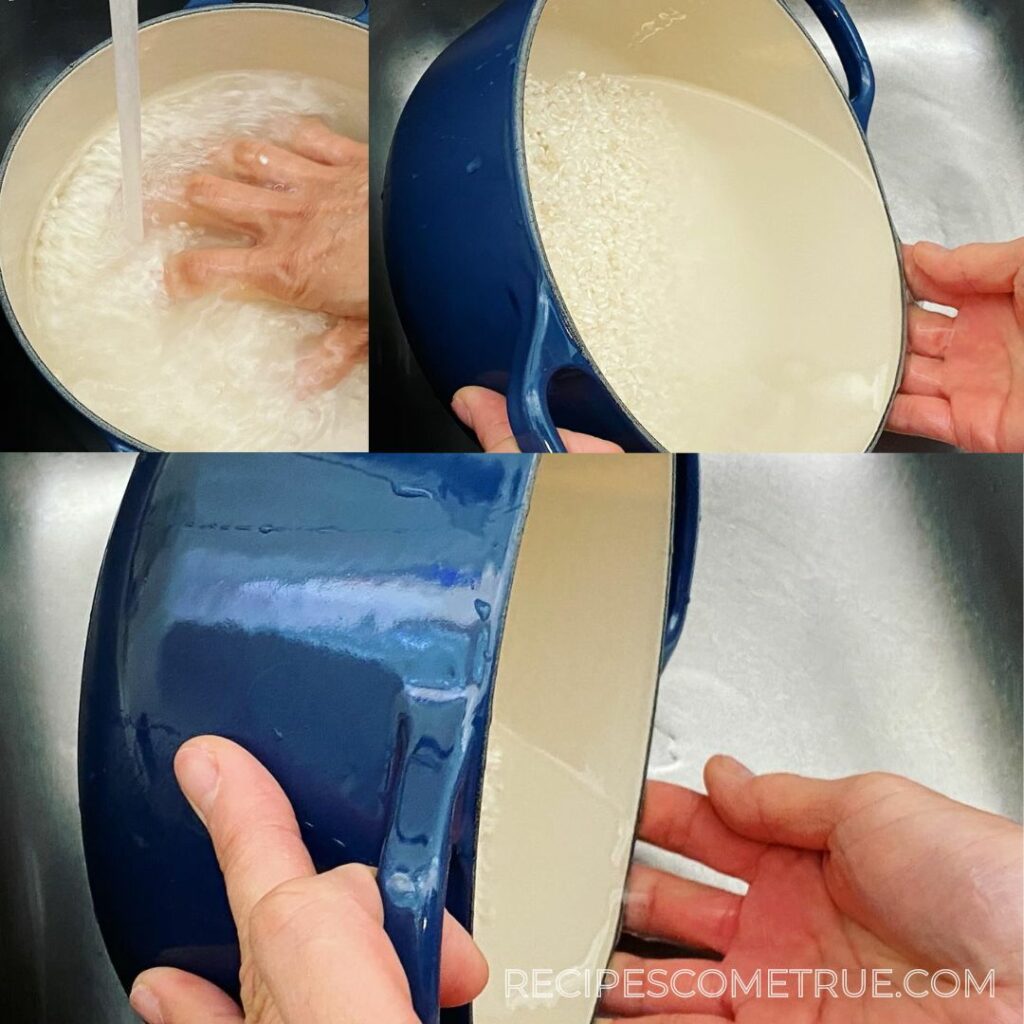
- Repeat the process described above in step 2 of adding water and lightly stirring the rice two or three times before discarding the water.At this stage, the water will still be extremely cloudy, so repeat the washing process once more.
- Once you have the water just slightly cloudy, you’re good to go. Tilt your pot to drain the water while keeping the rice in place. Stop pouring out the water when the rice no longer flows out; trying to remove all the water will cause the rice to spill out. The key is to leave just enough water for the rice to remain in place without it spilling out.Tip: The trick to this method, which doesn’t require a colander, lies in how much water remains at this stage. Once you get the hang of it, it’s easy.
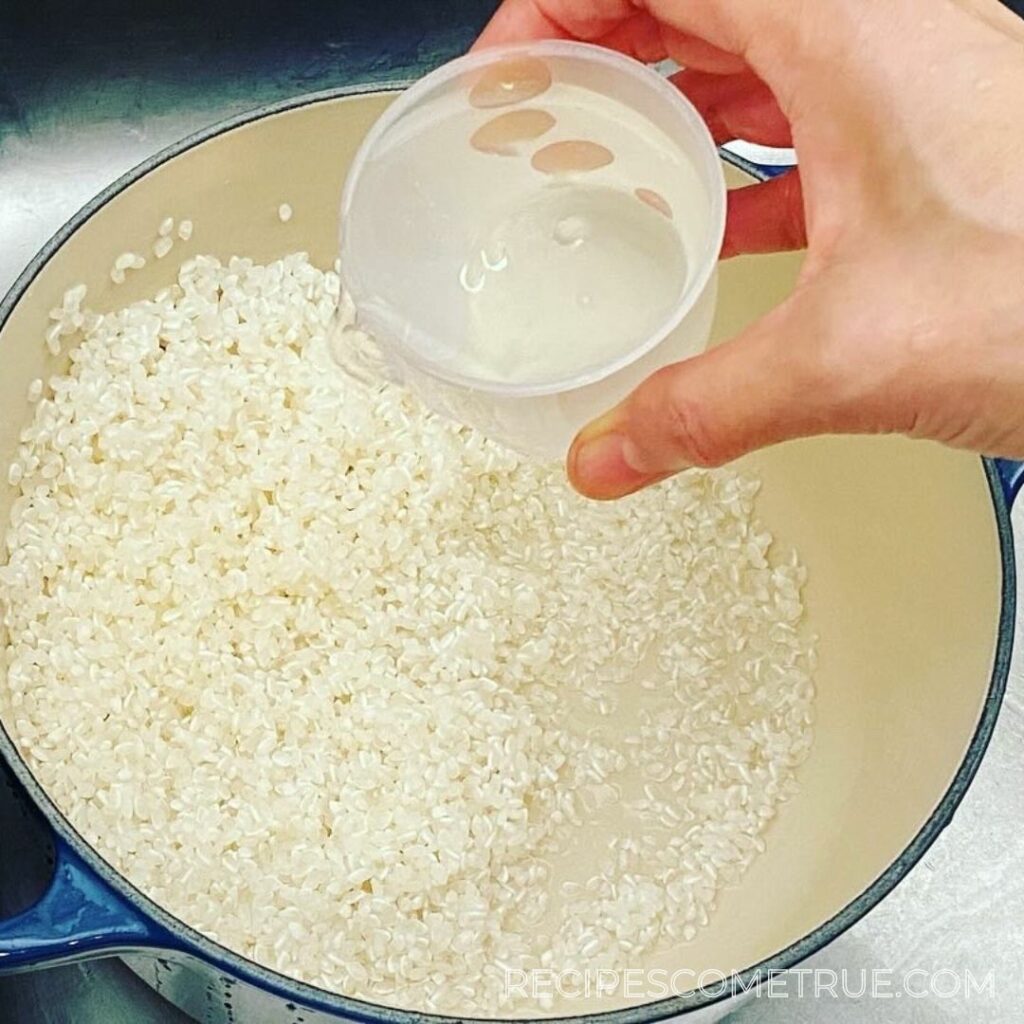
- Now add the same amount of water to the pot as the rice you just measured out. In this case, we’ll add two cups of water.Tip: The water should be as cold as possible, and preferably soft water. I use the local tap water in both Australia and Japan.
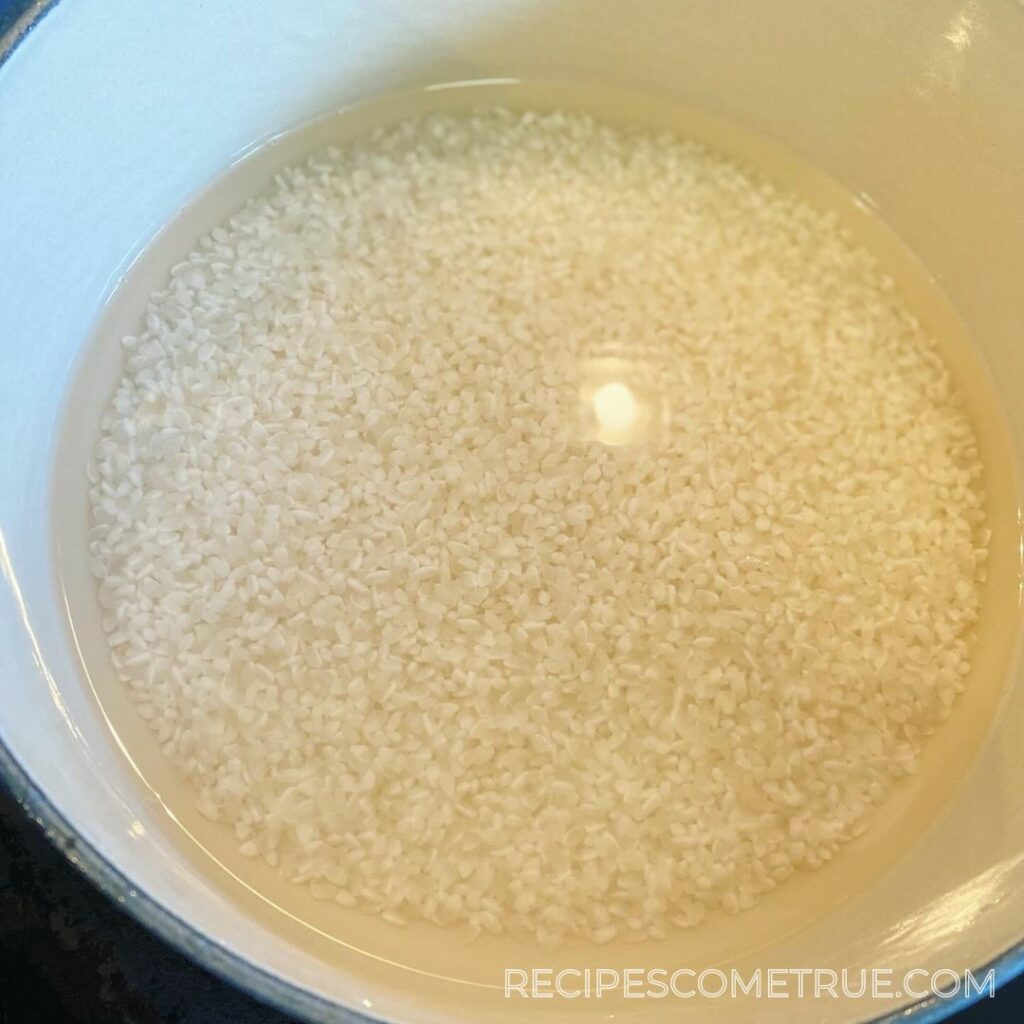
- Let the rice soak ideally for somewhere between 30 minutes to two hours. The soaking time doesn’t have to be precise, but the rice will turn out fluffier if soaked for at least 15 minutes. Tip: A shorter soaking time will result in rice with a harder core and less fluffy rice.Tip: A longer soaking time (i.e. over 2 hours to 8 hours) works fine but doesn't necessarily produce better results.
- Finally, place the pot over high heat with the lid on and set a timer for 16 minutes. Depending on the amount of rice and the ambient temperature, it should come to a boil in about 5 to 6 minutes.Tip: For induction stoves, set the dial to the highest setting. And keep a close eye on the time.
- When it starts boiling, reduce the heat to low, keep the lid on, and let it simmer for the remaining time on your timer (there should be about 10-11 minutes left). Tip: For induction stoves, set the dial to the second lowest setting.
- When your timer goes off, and the rice has simmered for approximately 10-11 minutes, remove the pot from the stove, still the lid on, and let it rest for 10 minutes.
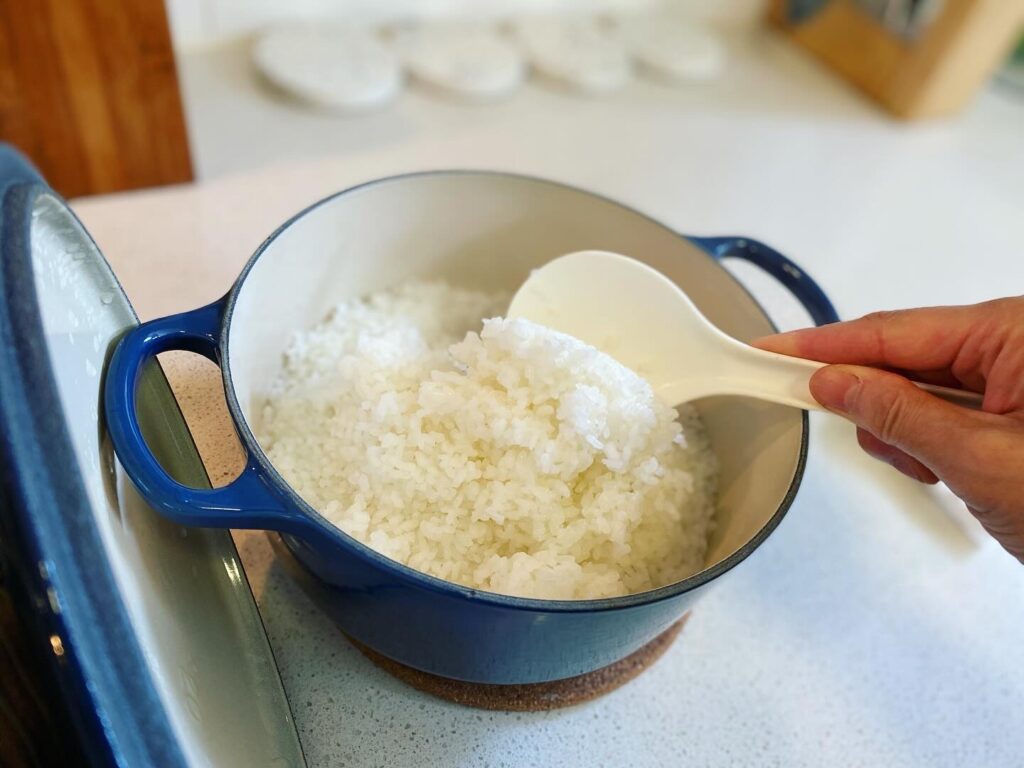
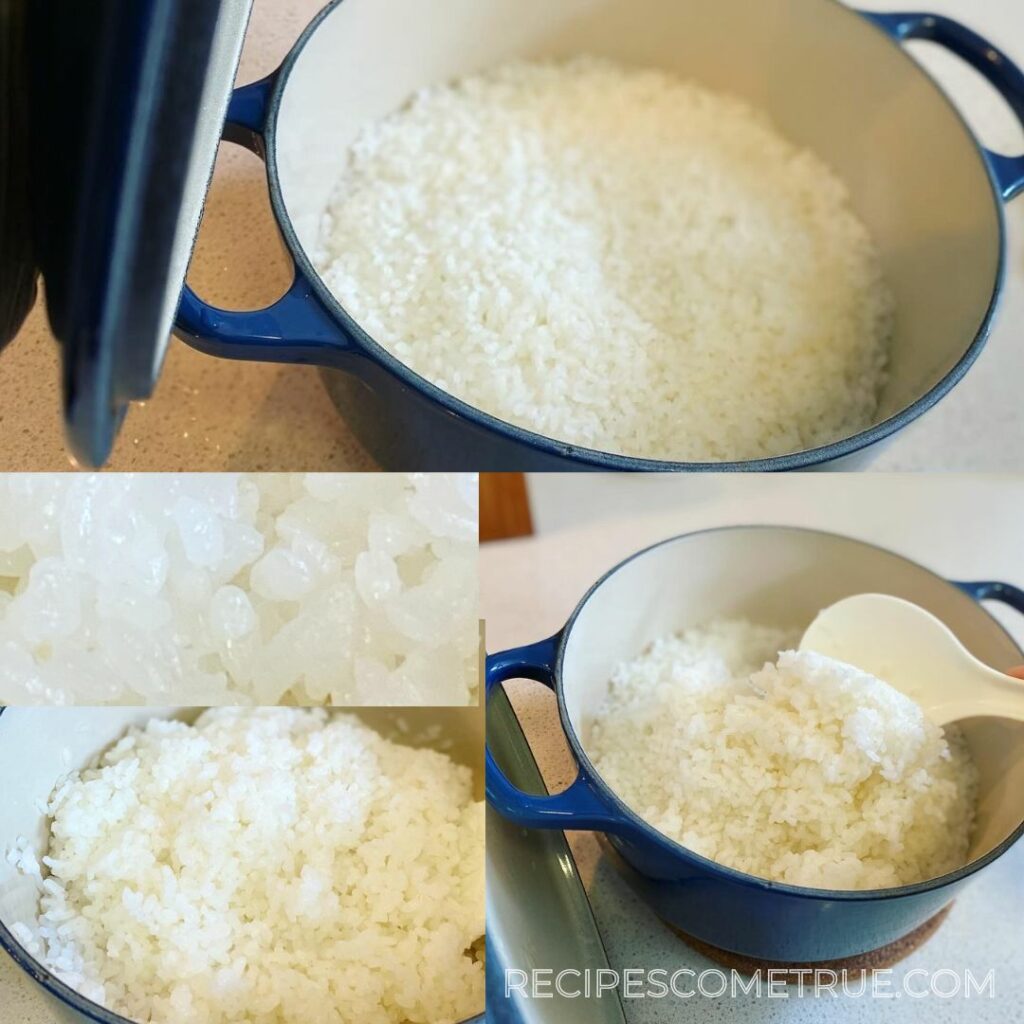
- After having sat off the stove with the lid on resting for 10 minutes, your rice is now ready to serve. Use a rice scoop (or a spatula if you don’t have one) to gently fluff and transfer the rice, ensuring it’s evenly loosened.Tip: Failing to gently fluff and loosen the rice at this stage may result in some slight clumping as the rice cools.Tip: When cooking rice in pots other than enameled pots, the rice may stick more to the bottom of the pot. You can loosen it by gently scraping with a scoop after allowing the rice to cool slightly with a longer resting time.
Notes
- Note the ideal ratio of rice to water is 1:1, though just a little more water is typically added.
- Softer water is better. The mineral content of tap water varies from place to place, but lower concentrations of minerals such as calcium and magnesium carbonates make for softer water.
- It’s better to cook at least 2 cups, as cooking just 1 cup often doesn’t yield the best results. Any extra rice can be conveniently wrapped in plastic wrap or stored in a container and frozen.
- Rice will keep for up to one month in the freezer but is best eaten within one week. When you’re ready to eat it, simply defrost the rice in your microwave. Enough for a small bowl will take about 3 to 4 minutes on medium, but of course it depends on your microwave settings, you might need more or less.