
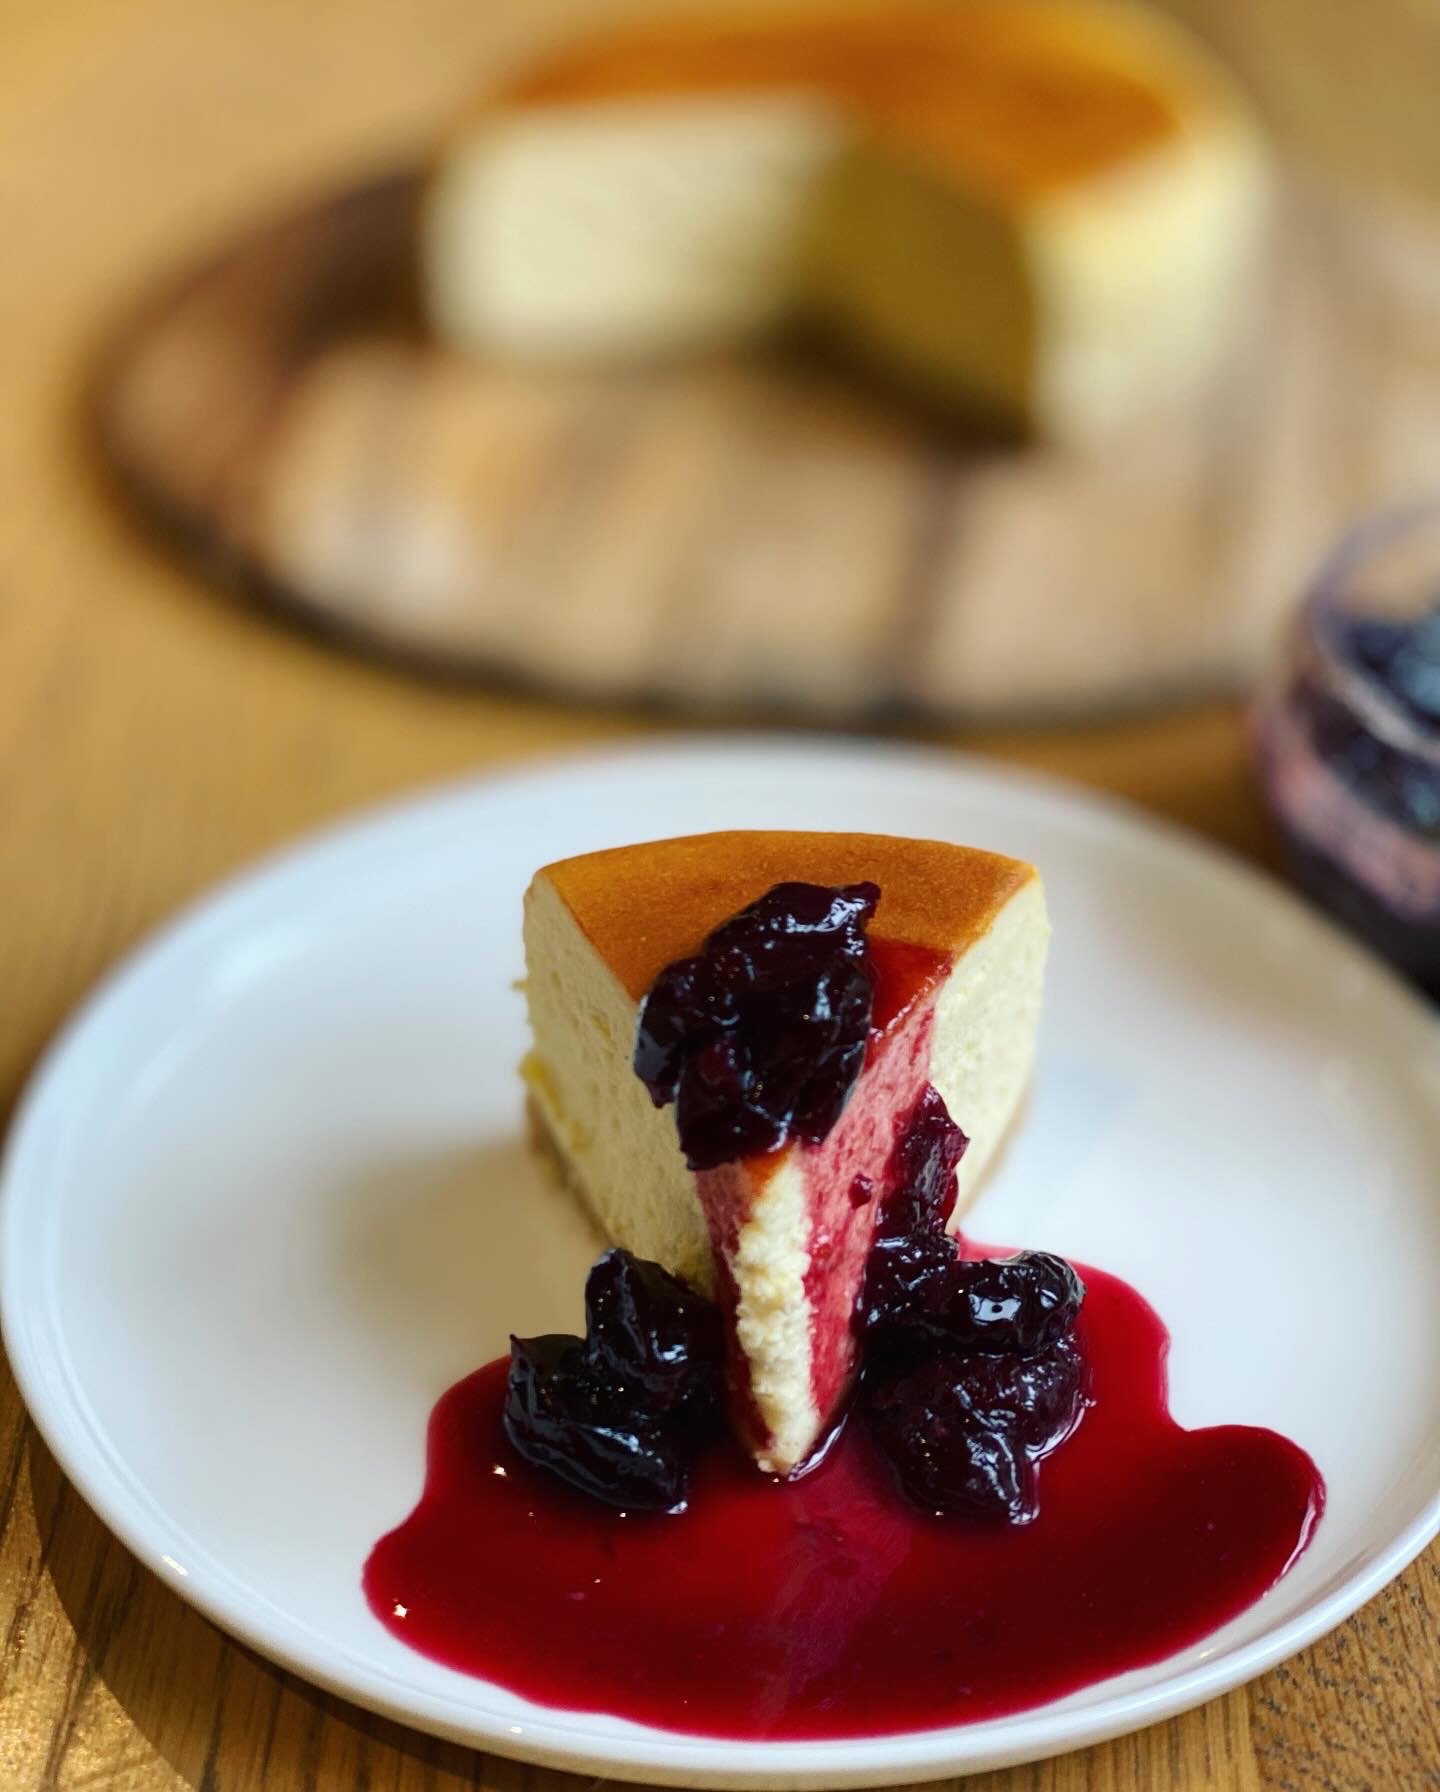
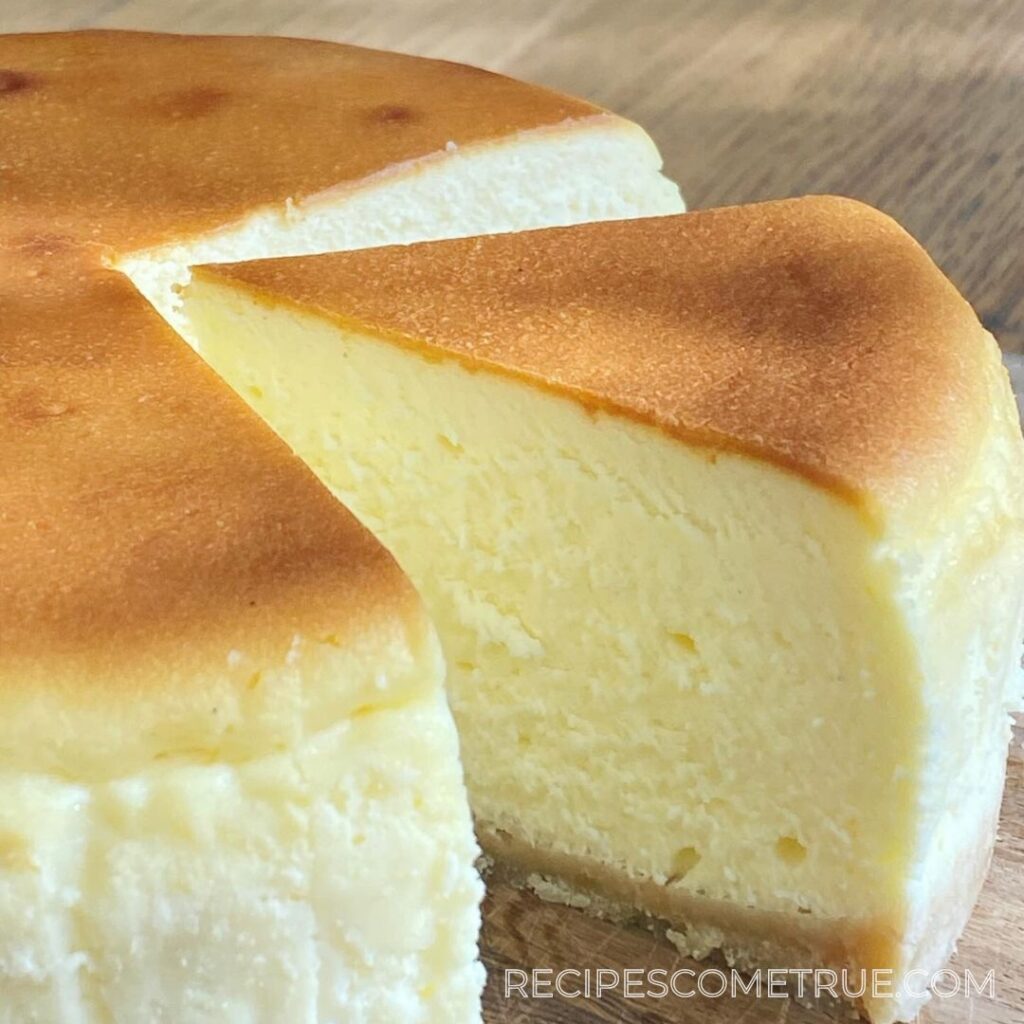
I’ve been making this New York style baked cheesecake for nearly 20 years and it’s still one of my absolute favourites.
When I was a teenager, there was an American style diner called Anna Miller’s near my house that I used to drop into all the time. They had a classic New York style cheesecake served with cherry sauce that was just delicious. The diner is long gone now but I remember that cake well.
Since moving to Melbourne, I’ve been recreating that taste at home, and this is another of my go-to recipes.
The recipe is really simple. But you need to plan ahead because you have to chill the cheesecake in the fridge for at least 6 hours.
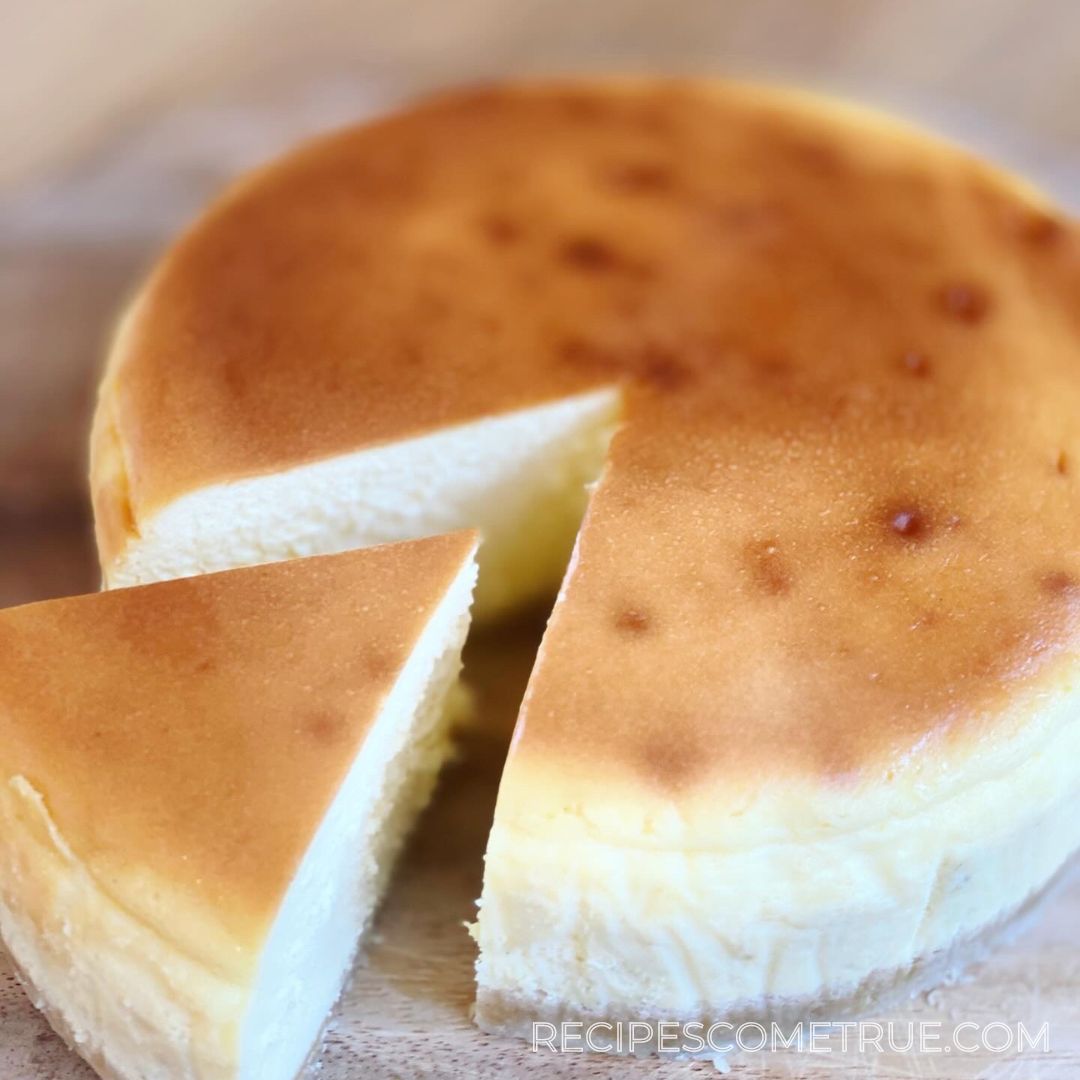

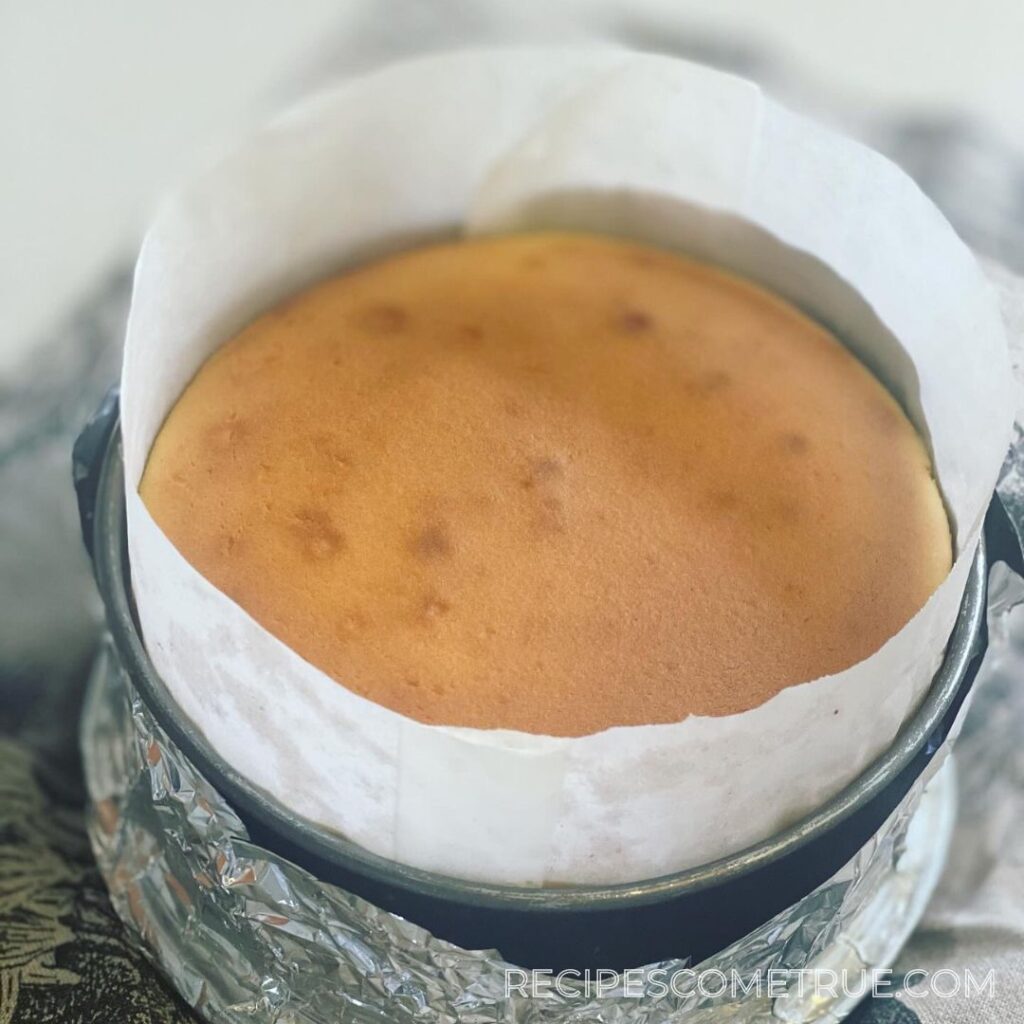
This recipe uses a water bath to keep the tin from getting too hot, which helps you get a beautiful, soft texture around the side of the cake. It also keeps the top flat and smooth, which is helpful if you want to do something decorative on the surface.
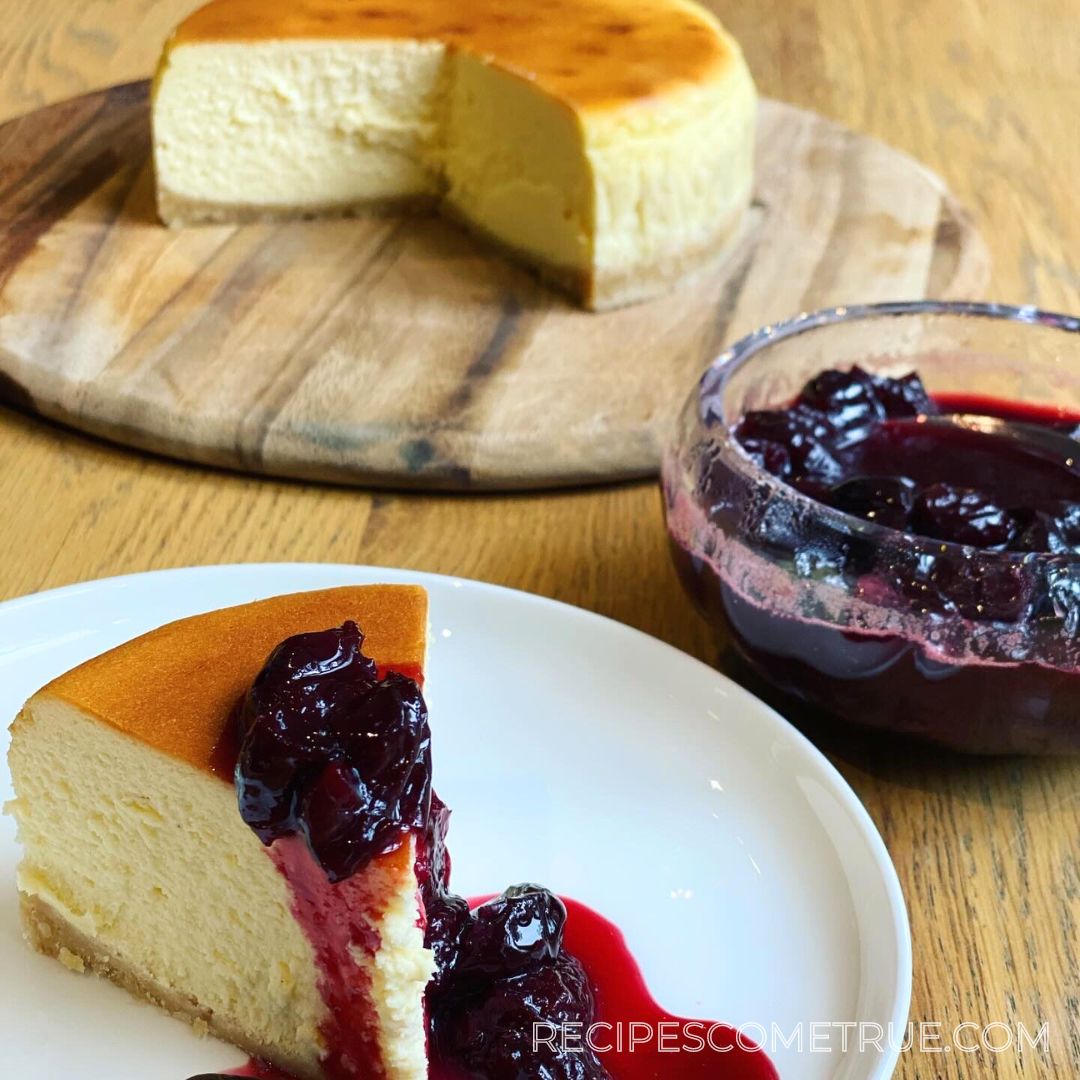
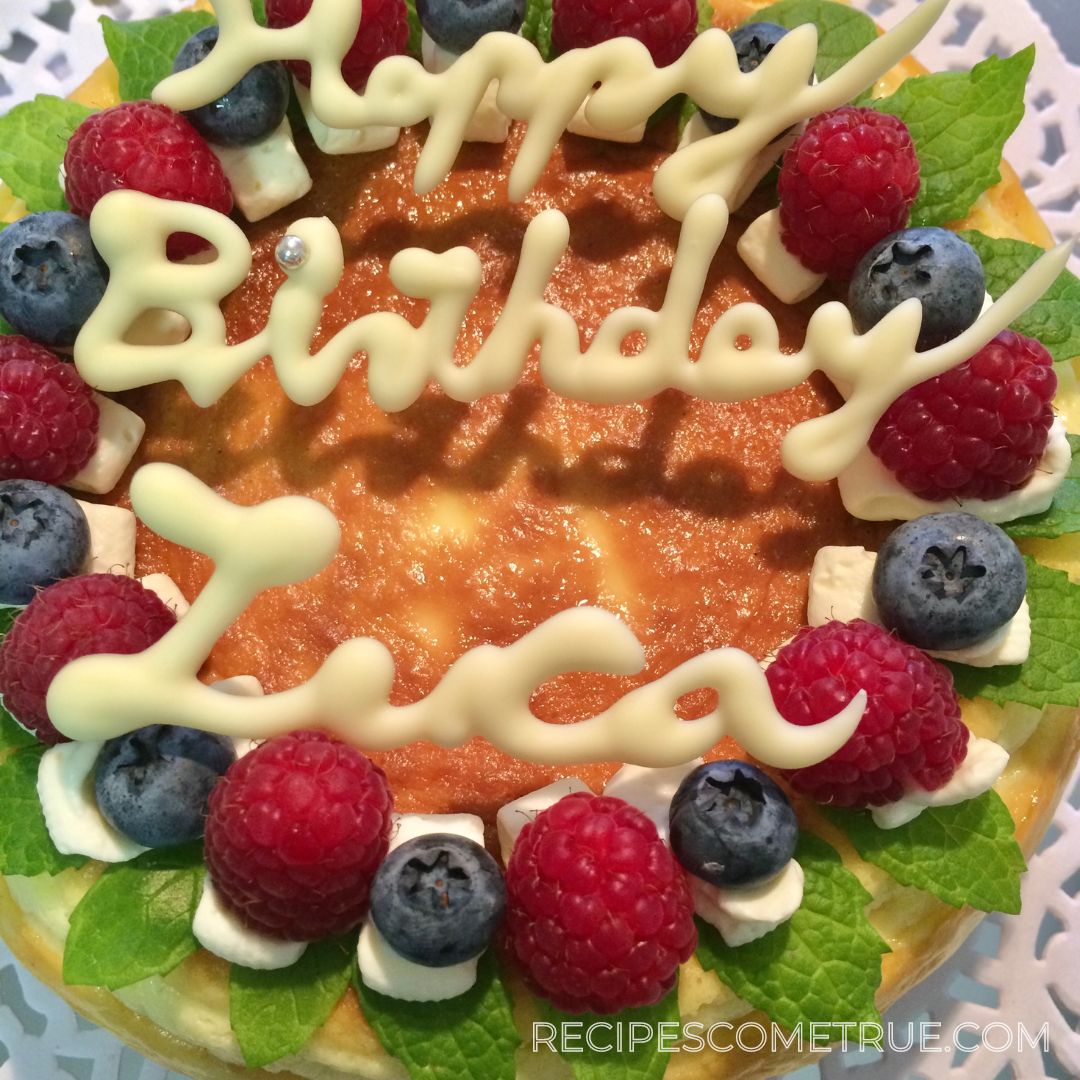
This cheesecake is amazing on its own or with cherry sauce. If you’re making it for a birthday or special occasion, it’s perfect for decorating, as you can see in the photos.
Since it’s a baked cheesecake made with cream cheese and cream, of course it doesn’t do well in warm environments. However, it freezes well!
Add this recipe to your cake repertoire – you won’t regret it!
You can also find the cherry sauce recipe at the link below.
Did you make this recipe?
Please let me know how it turned out for you! Leave a comment below and tag @recipescometrue on Instagram and hashtag it #recipescometrue.
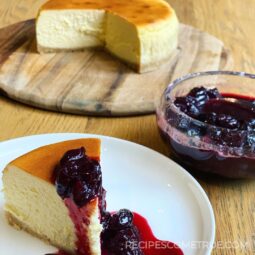
New York Style Cheesecake
Equipment
- 18cm springform round cake tin (A springform tin makes it easy to remove the cake and helps prevent water from getting in when baking in a water bath.)
- aluminium foil
- baking paper
- roasting pan (This is used for the water bath, but you can bake this cake without one as well. Without the water bath, the entire exterior of the cake will have a firmer texture and develop a darker, fully baked look. Additionally, the top of the cake won’t stay flat.)
Ingredients
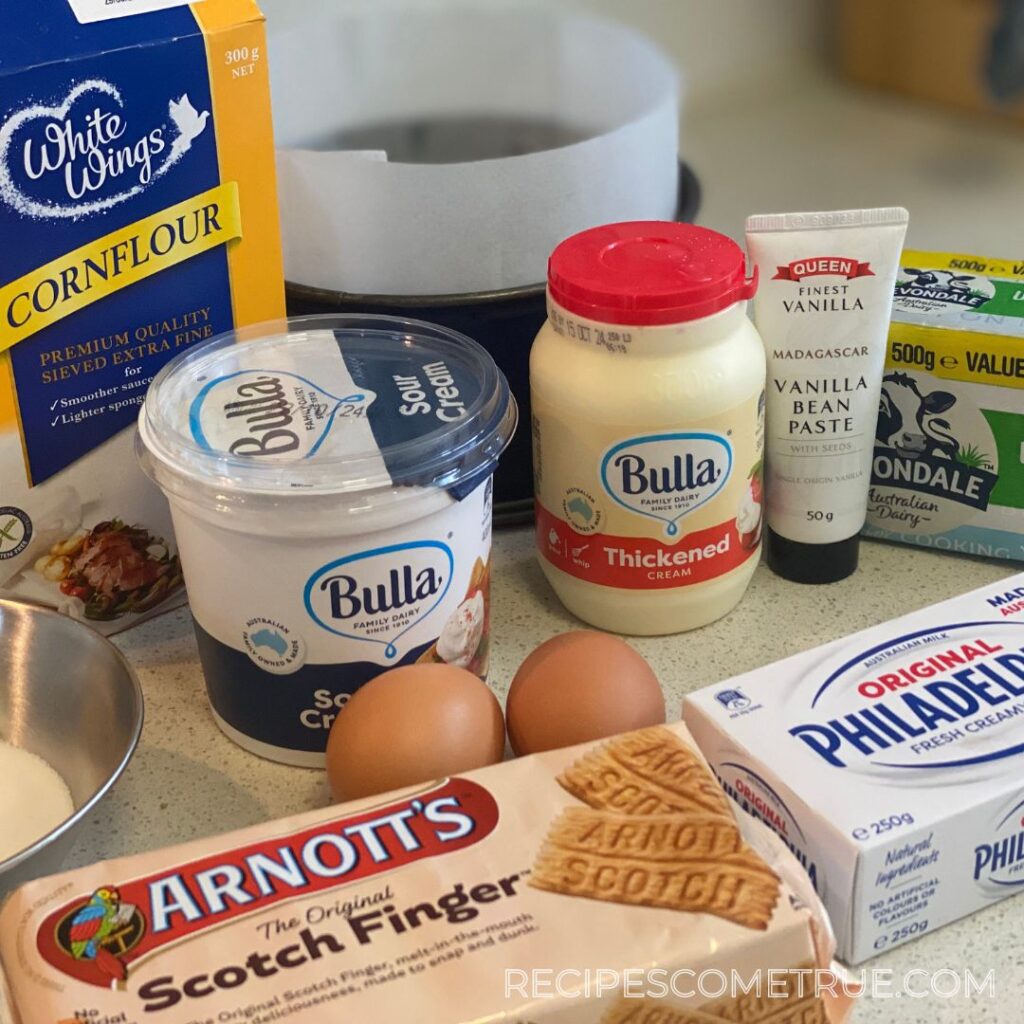
- 250 g cream cheese (at room temperature)
- 100 g sour cream
- 200 ml heavy whipping cream (aka thickened cream)
- 2 eggs
- 100 g sugar
- 2 tbsp cornstarch (aka "cornflour" in the UK and Australia) 1 tbsp=15ml
- 1/8 tsp vanilla bean paste
- 100 g shortbread biscuits (about 5-6 biscuits) (scotch finger biscuits in Australia)
- 50 g butter
- hot water (for the water bath)
Instructions
- Get your ingredients ready.

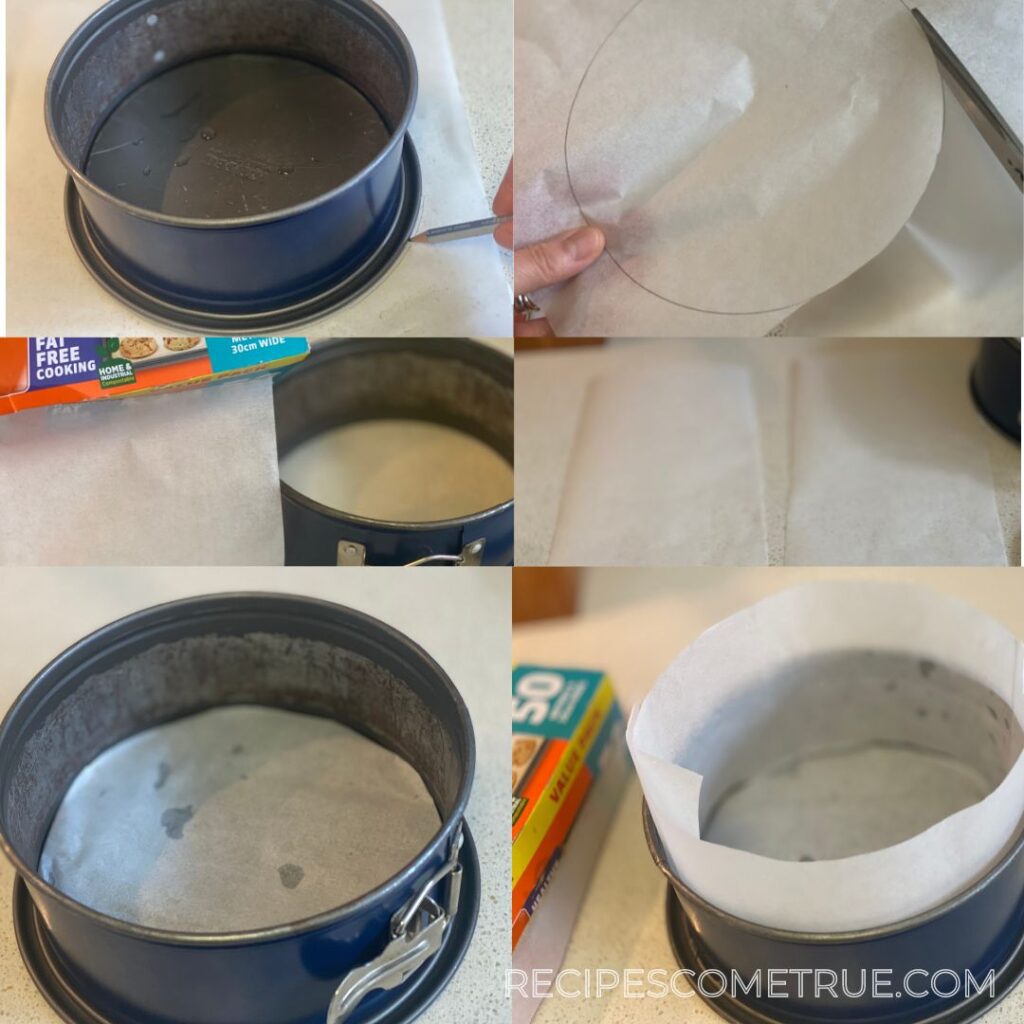
- Line the cake tin with baking paper.Tip: This is optional but makes removing the cake after baking so much easier: For the base, trace around the bottom of the tin on the paper and cut it out. For the sides, cut a strip of baking paper slightly taller than the tin. If the paper doesn’t stick to the tin, try dabbing a bit of water or melted butter to hold it in place.
- Wrap the outside of the cake tin with aluminium foil.Tip: This is to prevent water from getting in when you bake the cake in a water bath.
- Preheat the fan forced oven to 180°C (about 200°C for gas ovens) and get some water boiling for the water bath.
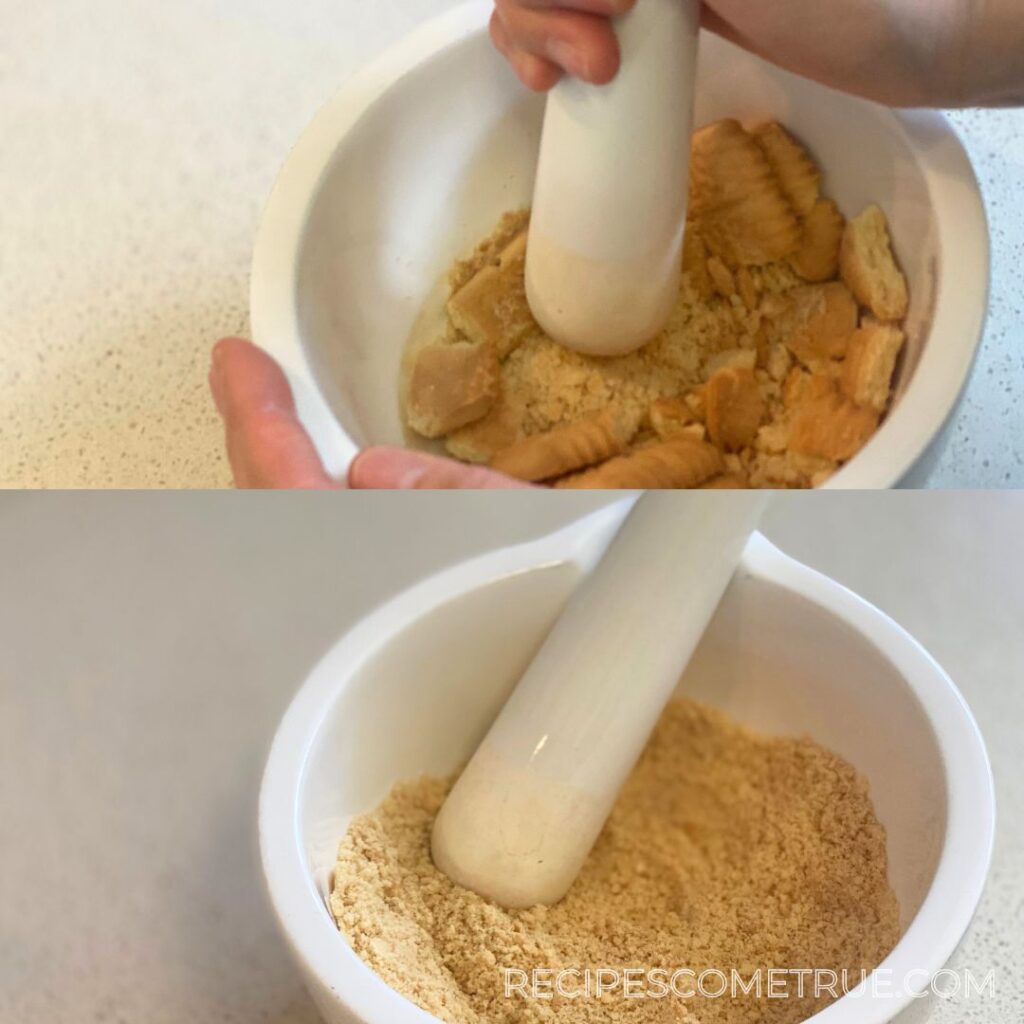
- In a bowl, crush the 100g of biscuits using a rolling pin or pestle until fine.
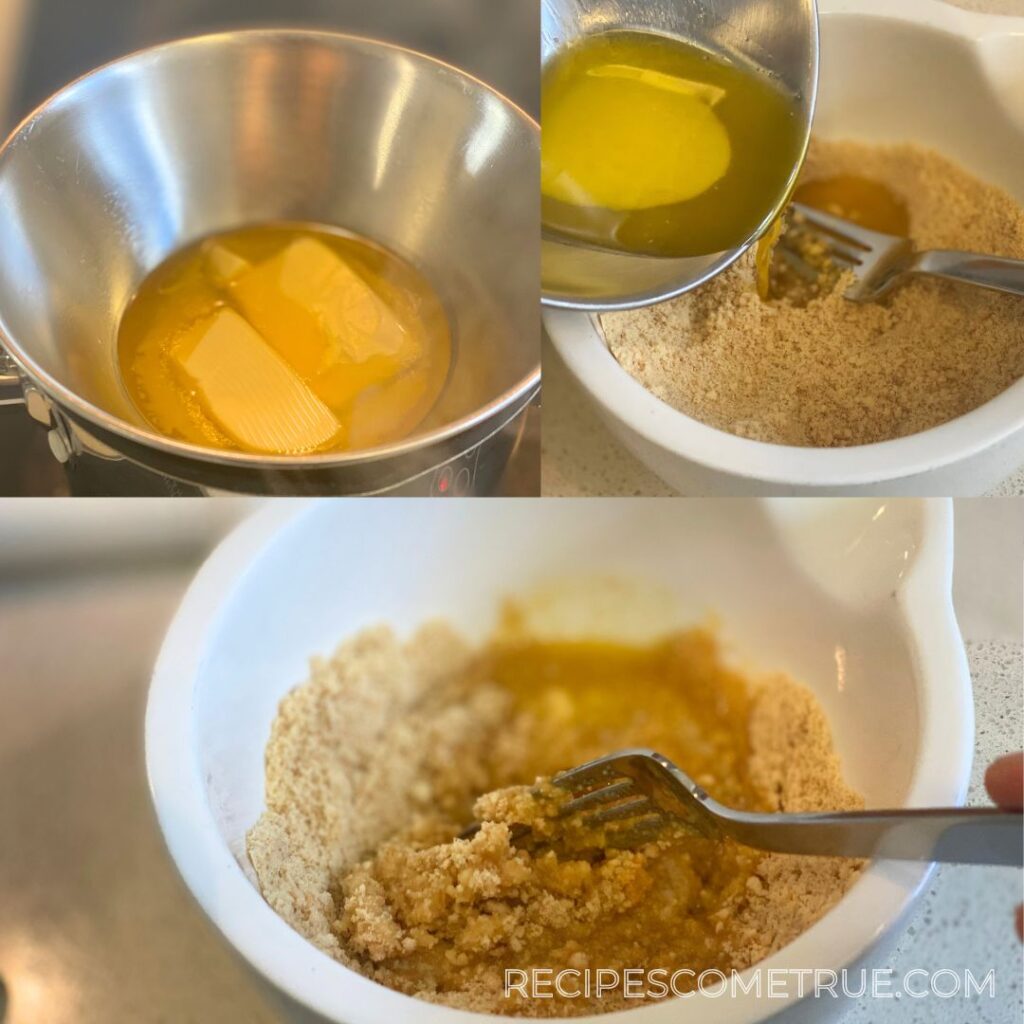
- Melt the 50g of butter in a bain-marie (or microwave, but be careful as it can sometimes splatter!) and mix it with the crushed biscuits until combined.
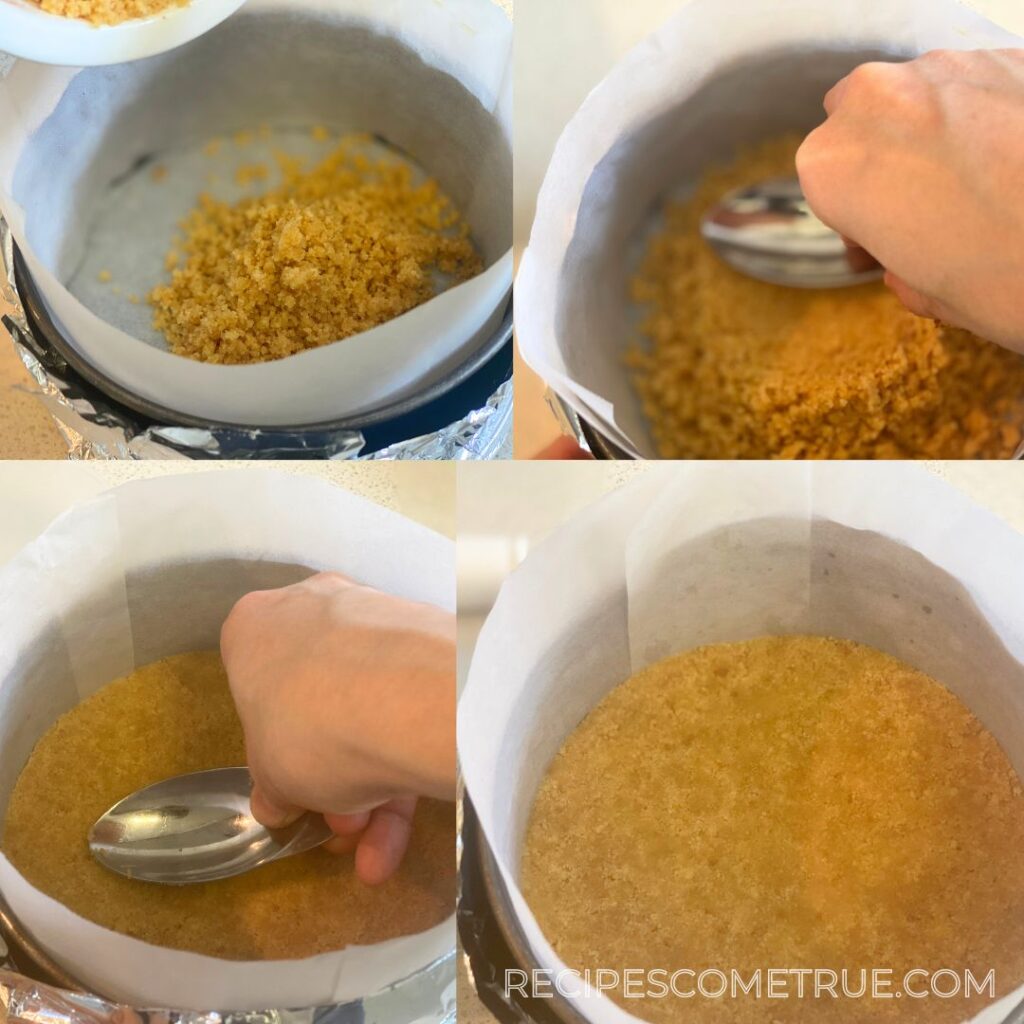
- Press the crushed biscuits mixed with butter evenly into the base of the cake tin lined with baking paper. Set the tin in a roasting pan.Tip: Use the back of a short-handled spoon or the bottom of a measuring cup to firmly press the crushed biscuit and butter mix down and make sure it's evenly packed.
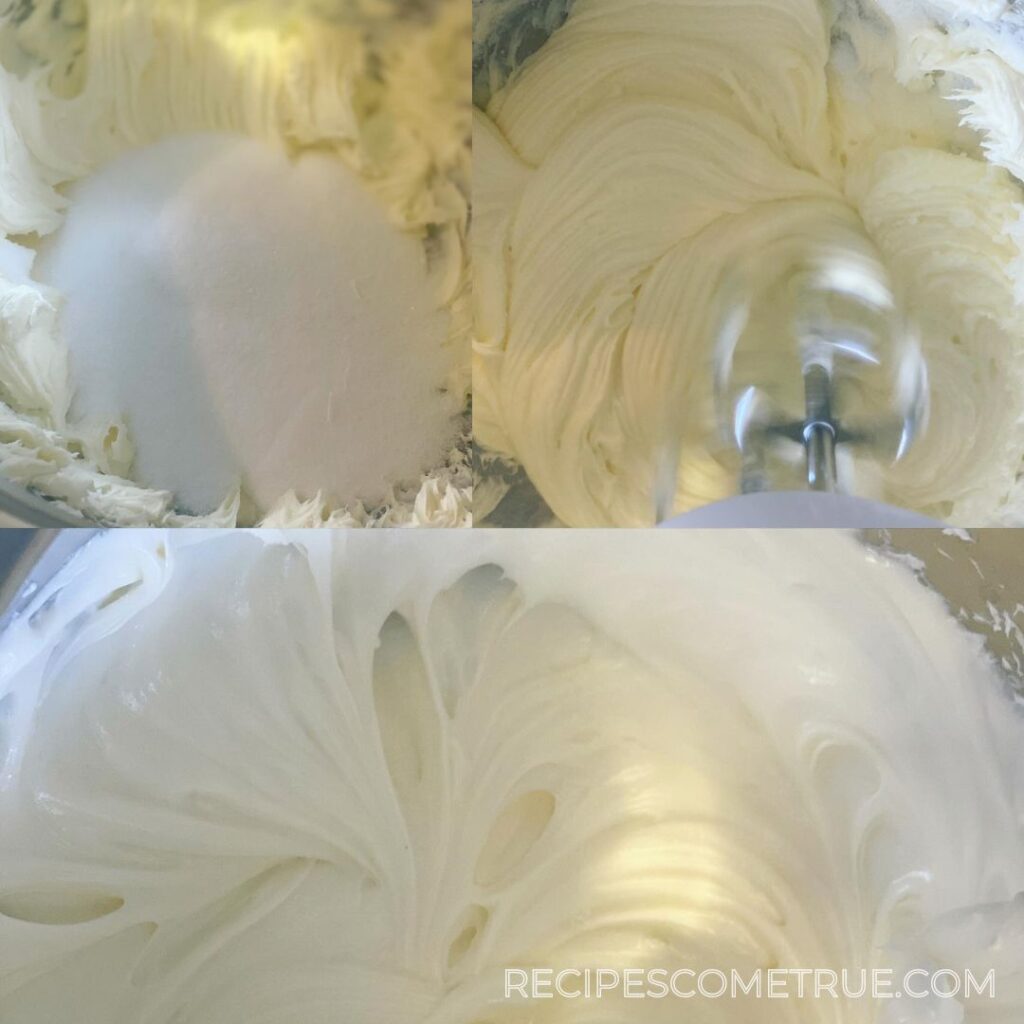
- In a separate large bowl, beat the 250g of cream cheese until smooth using an electric mixer.
- Add 100g sugar and continue mixing until creamy.
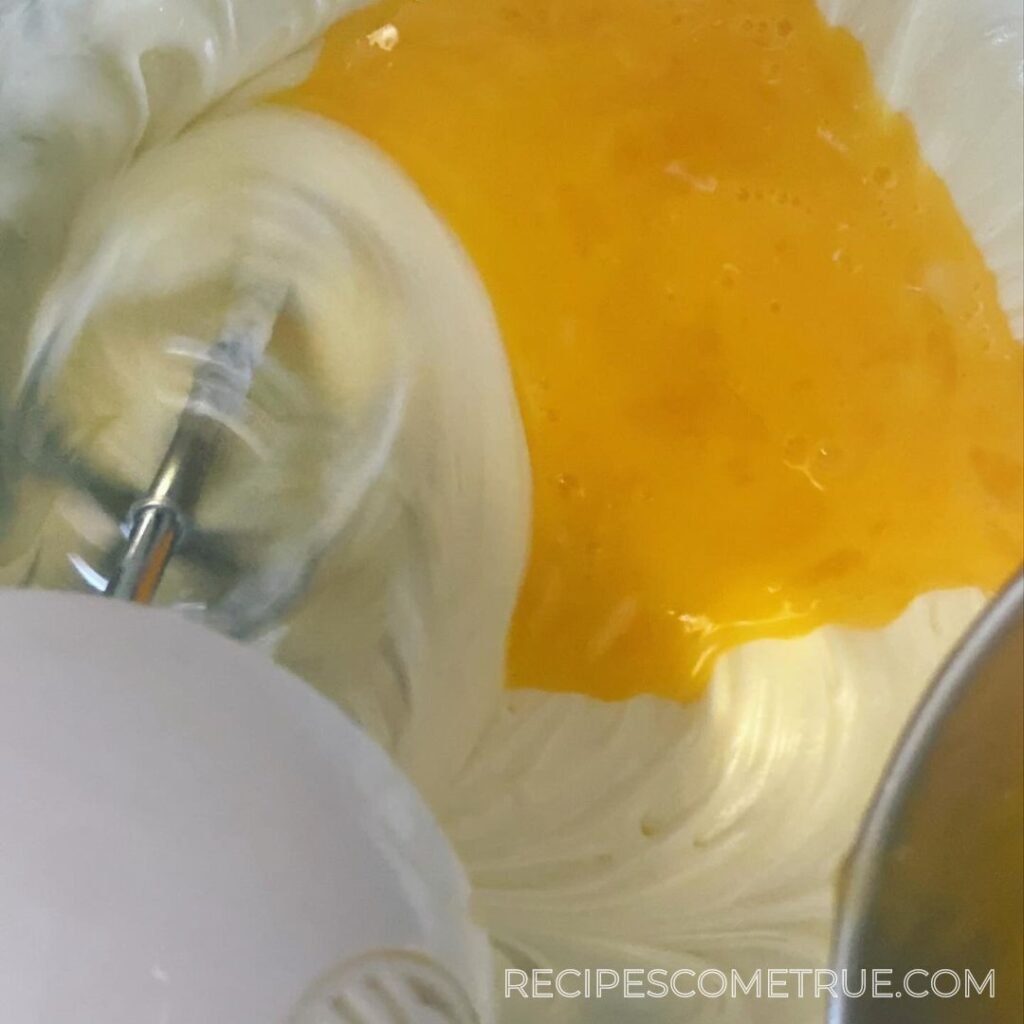
- Gradually add the two beaten eggs, mixing for about a minute until combined.
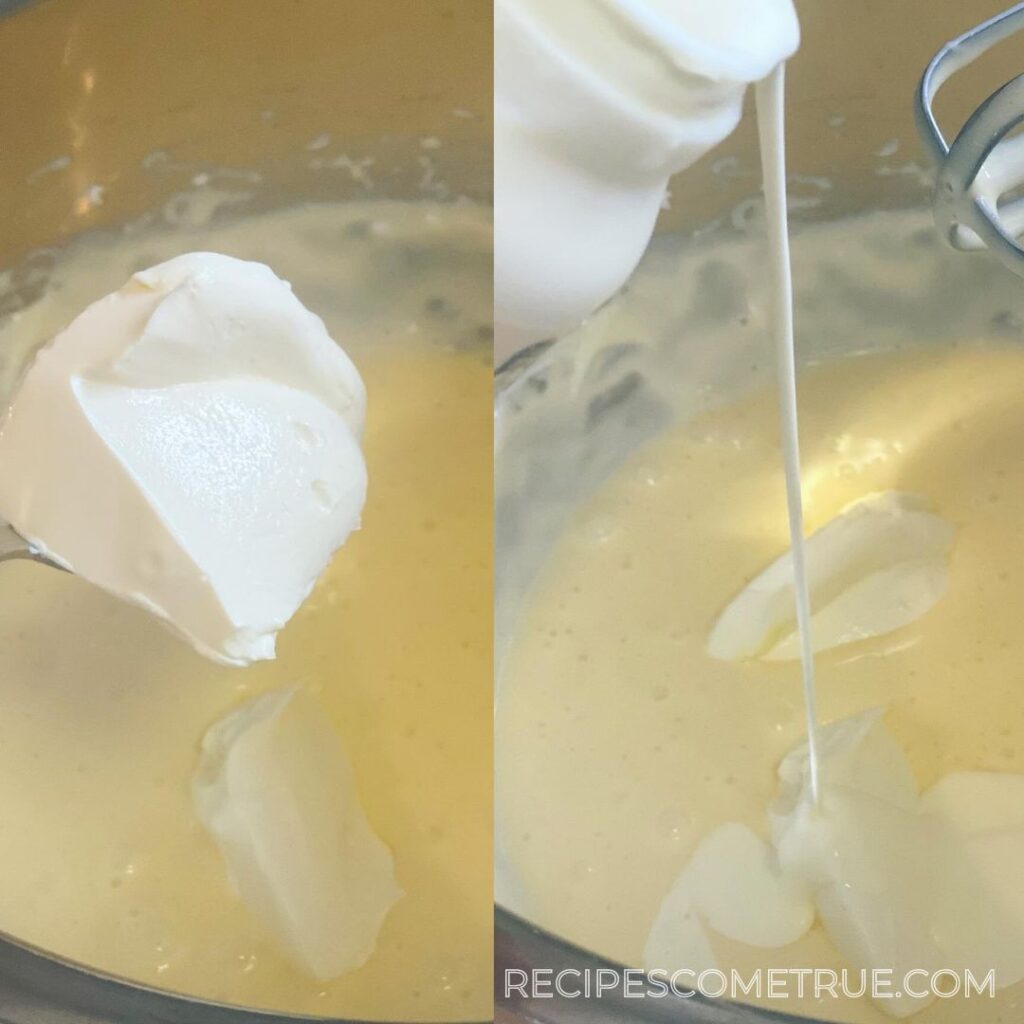
- Add 100g sour cream and 200ml heavy whipping cream (aka thickened cream), then mix for another minute.
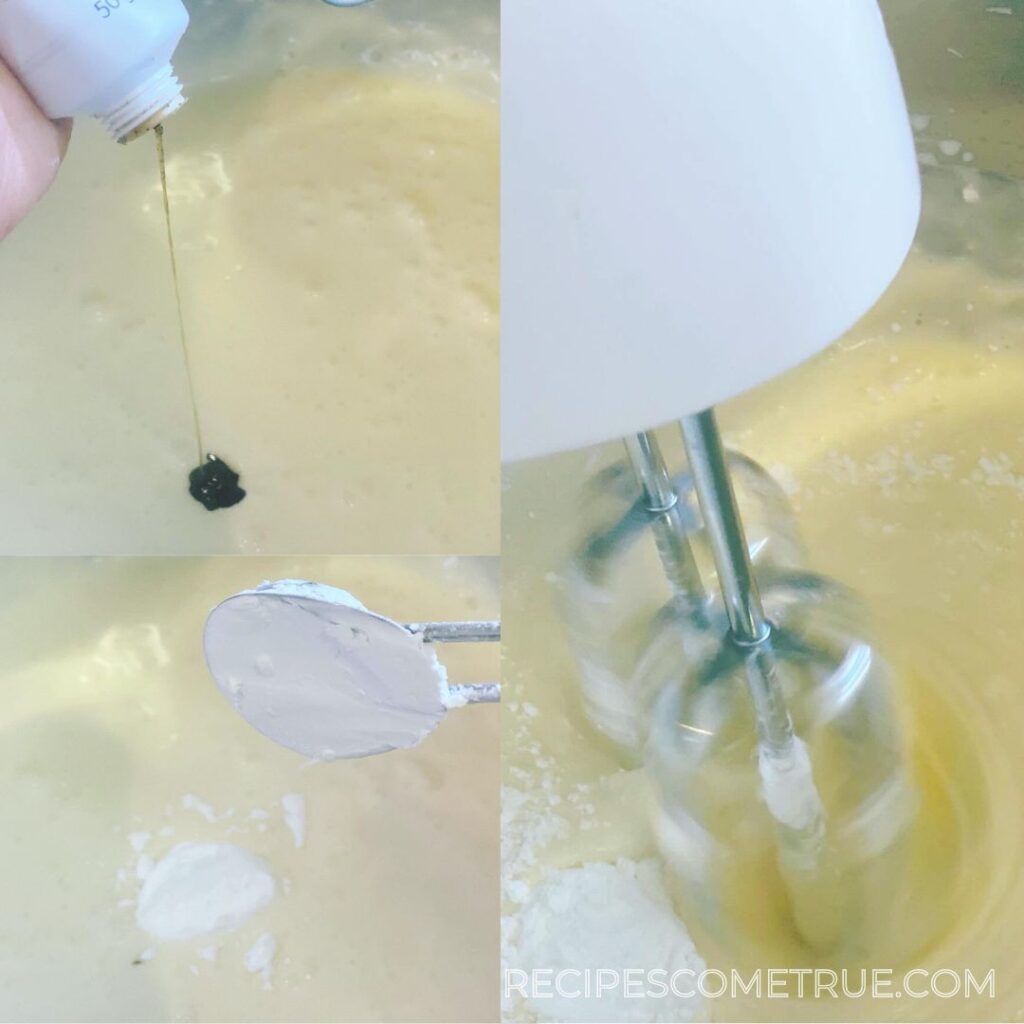
- Add 1/8 tsp vanilla bean paste and 2 tbsp cornstarch, and mix for another minute.
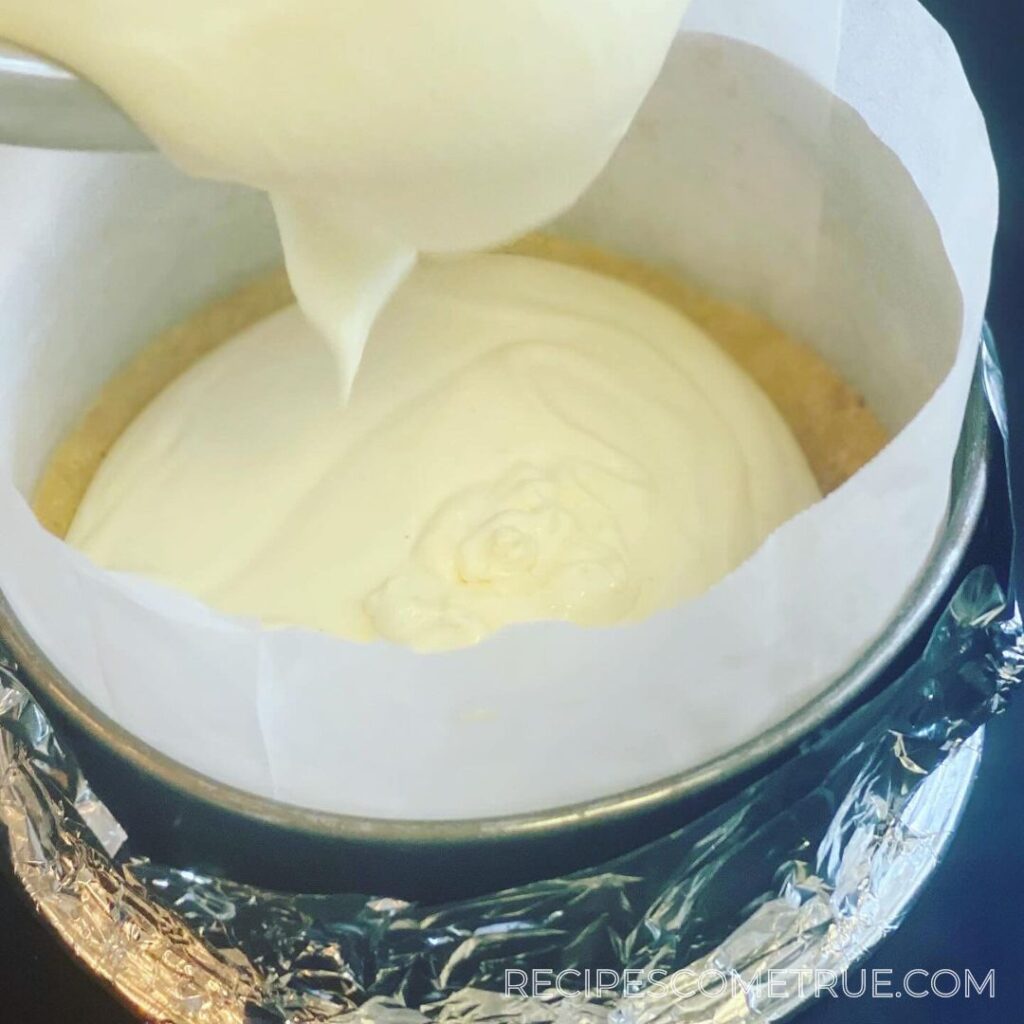
- Pour the mixture over the biscuit base in the cake tin.
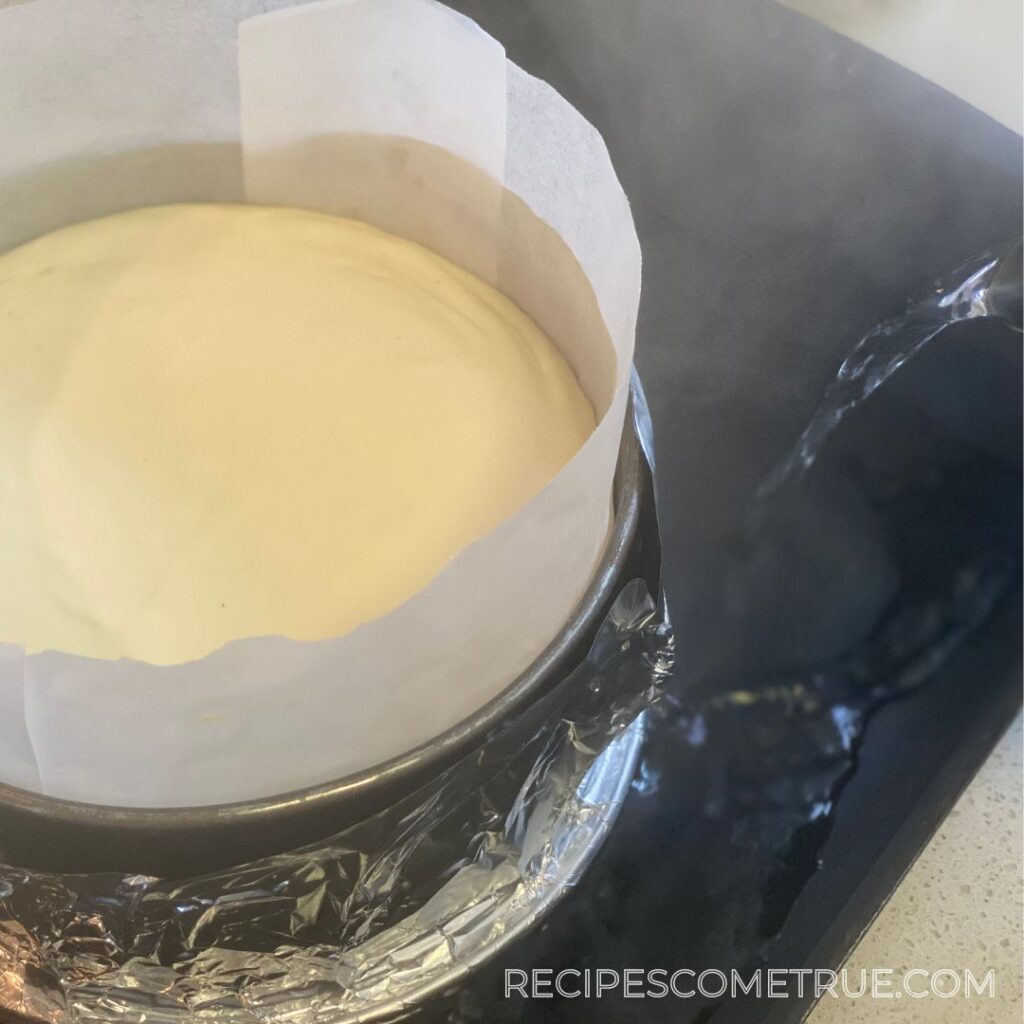
- Pour the boiling water into a roasting pan until it comes up to just below halfway up the sides of the cake tin.
- Place the roasting pan in the preheated oven and bake at 180°C for 30 minutes, rotating the tin halfway through to ensure even browning. After 30 minutes, lower the temperature to 150°C and bake for another 30 minutes, again rotating the tin halfway through.Tip: If the top starts to brown too much, cover the cake with foil to prevent burning.Tip: These temperatures are for a fan-forced electric oven. If you’re using a gas oven, you might need to increase the temperature by 15-20°C, but it depends on your oven, so adjust as necessary.
- Once baked, remove the cheesecake from the oven and let it cool to room temperature in the tin.
- Once cooled, cover with plastic wrap and refrigerate for at least 6 hours Tip: it’s even better if left overnight.
- Enjoy this classic New York style cheesecake with cherry sauce!




しっとりとした見るからに美味しそうなチーズケーキ
美しい出来栄えに食べるのがもったいない感じです
ありがとうございます!是非作ってみてください!👩🍳R